Note: costs mentioned below are given in US dollars as a general point of reference — actual prices vary by country, currency, and local market.
Pre-cut vinyl overlay trim kits cost $20-$80 and use adhesive-backed panels that stick over factory trim without removing anything. Real aluminum or carbon-fiber composite kits run $80-$250 and offer a more premium, longer-lasting finish but often require partial disassembly to fit properly. Vehicle-specific kits (cut to your exact dash layout) fit noticeably better than universal sheets you trim yourself.
At a glance
| Type | Typical price | Install |
|---|---|---|
| Adhesive vinyl overlay kit | $20-$80 | Peel and stick over existing trim |
| Real aluminum/carbon composite kit | $80-$250 | May need panel removal |
| Universal sheet (self-cut) | $15-$50 | Most labor, custom trimming required |
| Vehicle-specific pre-cut kit | $40-$200 | Best fit, minimal trimming |
What trim kits actually change
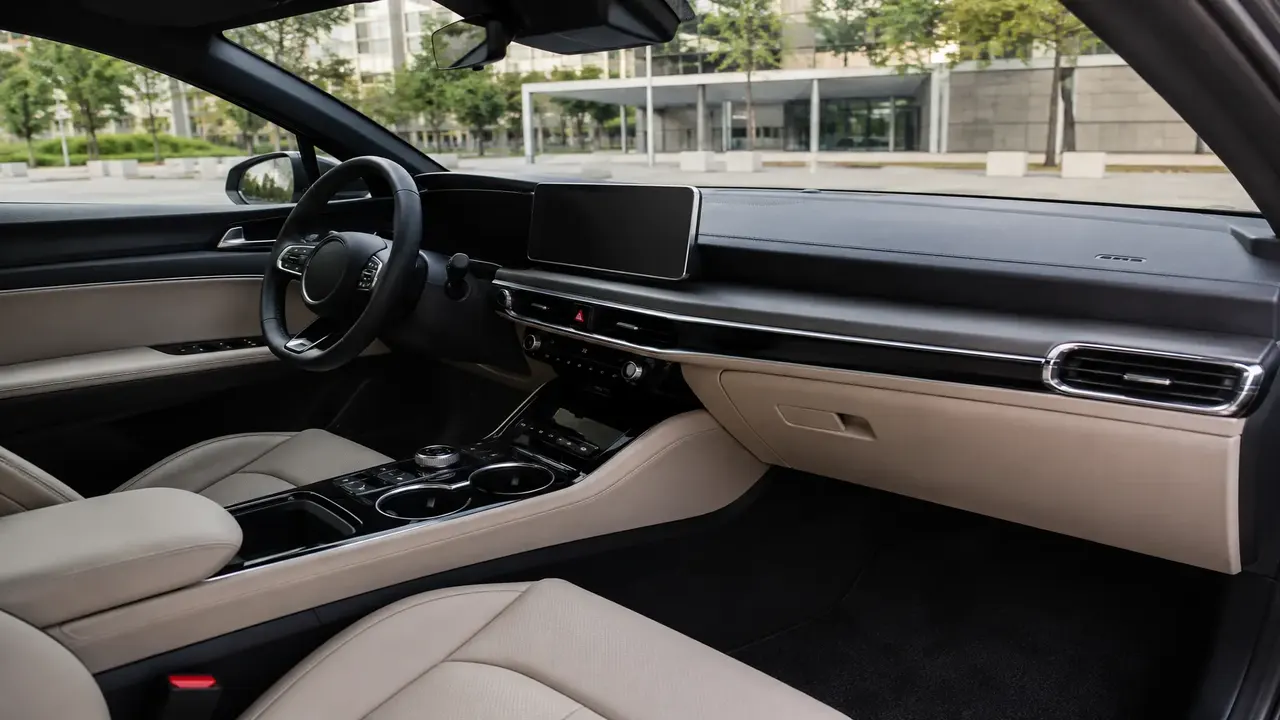
Interior trim kits cover factory plastic trim pieces — dashboard accents, door panel inserts, center console surrounds — with a different material or finish, most commonly to simulate carbon fiber, wood grain, or brushed aluminum without replacing the underlying part.
Material and finish options
- Vinyl overlay (carbon fiber pattern, wood grain, matte/gloss colors) — the most affordable and beginner-friendly option; thin, flexible, and easy to trim around vents and buttons.
- Real carbon fiber composite — genuine woven carbon layered in resin; more rigid, more durable, and pricier, often sold as pre-molded pieces rather than flexible sheets.
- Aluminum/metal trim — brushed or anodized metal pieces, usually pre-shaped for specific trim locations rather than a flexible wrap.
- Wood veneer — real wood-faced trim pieces for a classic or luxury look, typically sold as vehicle-specific pre-cut kits rather than DIY sheets.
What to check before buying
- Vehicle-specific vs. universal — a kit pre-cut for your exact make/model/year fits factory cutouts (buttons, vents, badges) far better than a universal sheet.
- Adhesive quality — cheap adhesive can lift in heat or cold; look for automotive-grade 3M-style adhesive backing.
- Panel removal requirements — some kits install without removing anything; others need trim panels popped off for a clean edge, which raises the DIY difficulty.
- Reversibility — adhesive vinyl overlays are generally removable without damage; bonded or riveted metal/composite pieces are more permanent.
Installation basics
- Clean the surface thoroughly with isopropyl alcohol to remove oils and dust.
- Dry-fit the piece before removing adhesive backing to confirm alignment.
- Apply from one edge, smoothing outward to avoid trapped air bubbles.
- Use a heat gun on low setting to help vinyl conform around curves and vent openings.
- Trim excess carefully with a sharp hobby knife rather than scissors for clean edges.
Rushing the adhesive-backing removal or skipping the alcohol-clean step is the single biggest cause of bubbling and early peeling on vinyl trim kits.
Who should buy which type
Budget-conscious DIYers and renters/lessees who want a reversible upgrade should stick with adhesive vinyl overlays. Owners planning to keep a vehicle long-term and wanting a durable, higher-end look should consider vehicle-specific composite or aluminum kits, ideally installed by someone comfortable with trim panel removal.
Frequently asked questions
Are vinyl trim kits easy to remove later?
Do interior trim kits fit any car?
Is real carbon fiber trim worth the extra cost over vinyl?
Can I install a trim kit without removing any panels?
Sources & further reading
- 3M — automotive vinyl wrap and trim application guidance
- Consumer Reports — vehicle interior customization guidance
Figures, prices and policy details were current at the last-updated date above. Automotive pricing, incentives and regulations change frequently — verify time-sensitive details with the linked primary sources. Read our editorial policy and fact-checking standards.